Installing an SSL Certificate
There are currently 2 options for SSL Certificates:
Certificates and CloudFront Distributions are the only sections of the AWS console you want to be in US-EAST-1 (N. Virginia).
Everything else in AWS needs to be in EU-WEST-1 (Ireland)
Requesting a Free Amazon Certificate
You will need to create DNS records for verification so ensure you either have DNS access or can pass on the records to someone who can
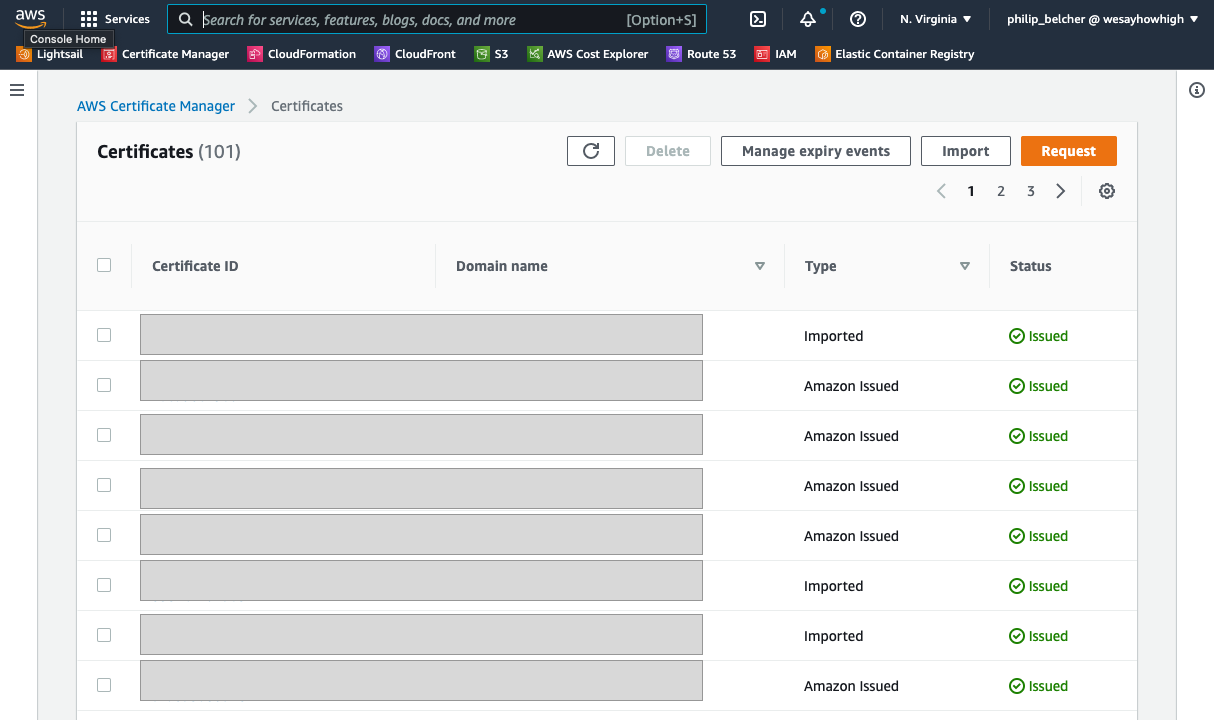
Visit the AWS Certificate Manager once logged into the AWS Console.
Ensure you are in US-EAST-1 (N. Virginia) by selecting the region selector.
Click the Request button at the top of the list of current certificates
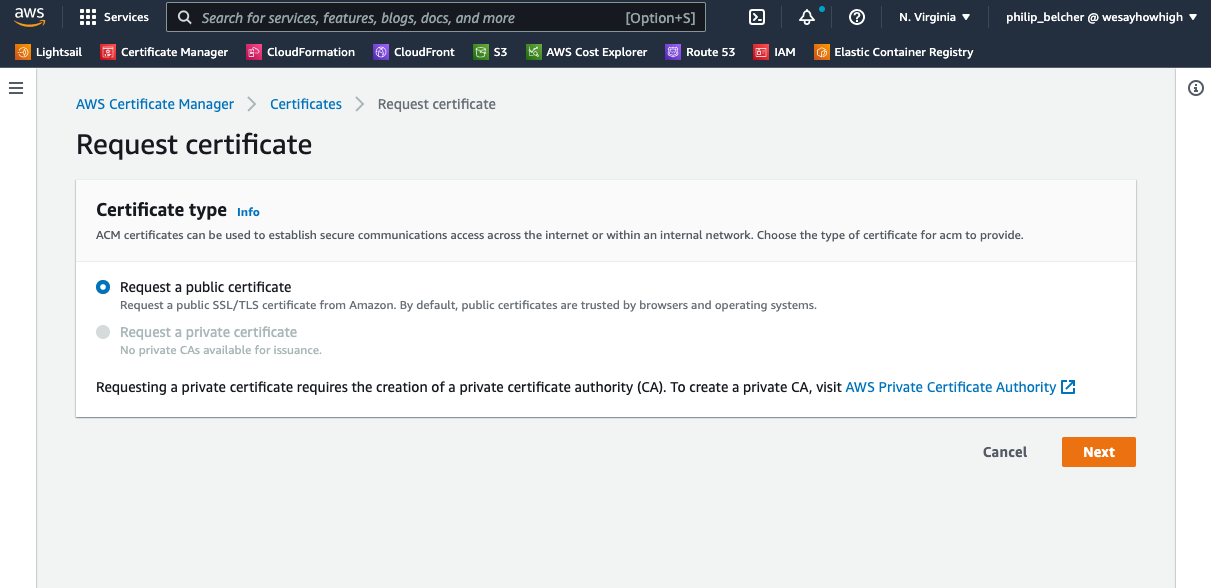
Click Next for Requesting a Public Certificate
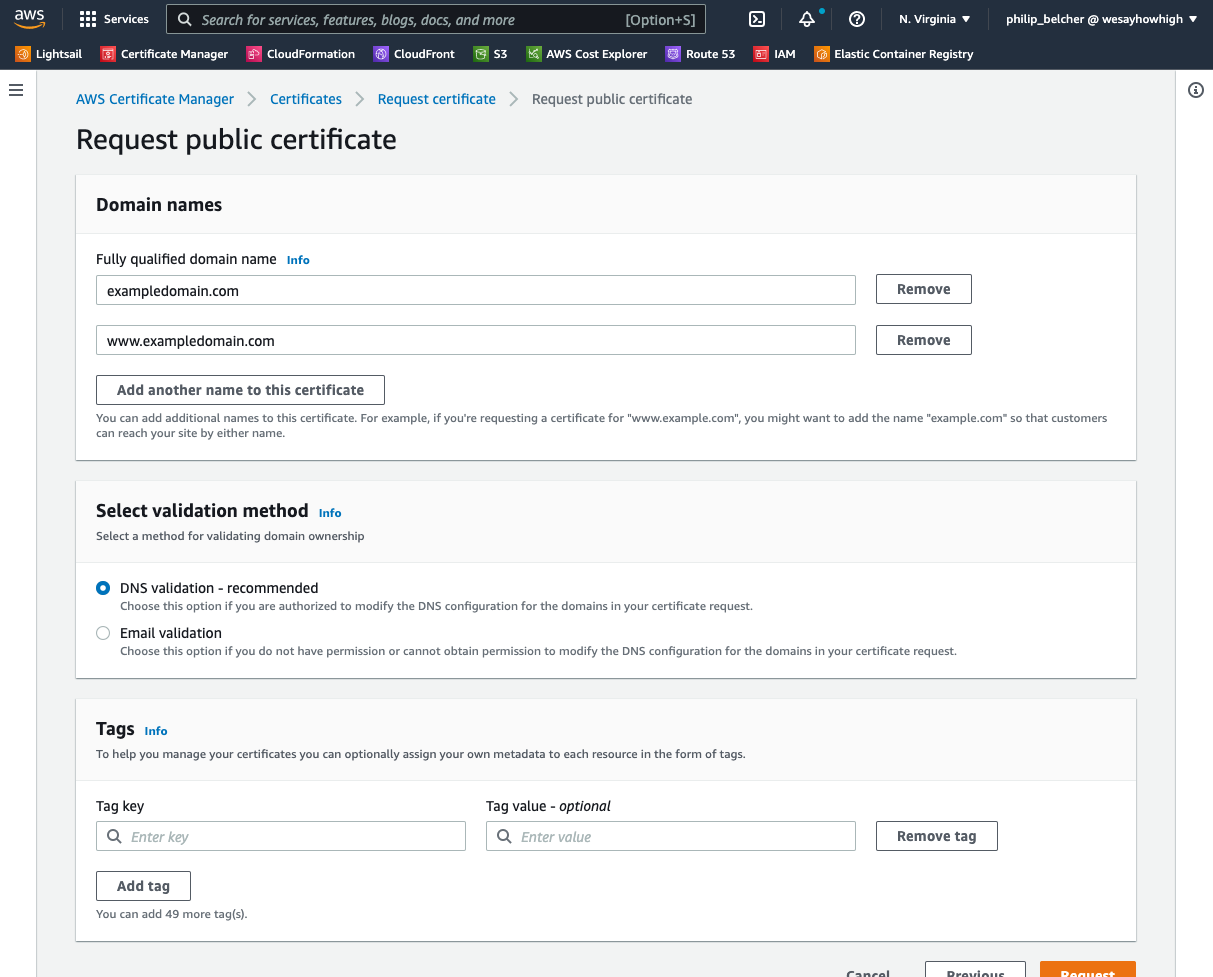
Type in the names of the domain you want a certificate for - remembering to include www too! You can also choose between DNS or Email validation. DNS validation is nearly always easier (as you can't specify an email address) so ensure you have access to the DNS provider for the new domain.
Remember to add a Tag of Key
BillingNameand Valuesite-NAME-OF-YOUR-WEBSITEClick the Request button
View the Certificate detail page for the one you just requested. You should see the DNS records that need to be added before Amazon can actually generate the Certificate
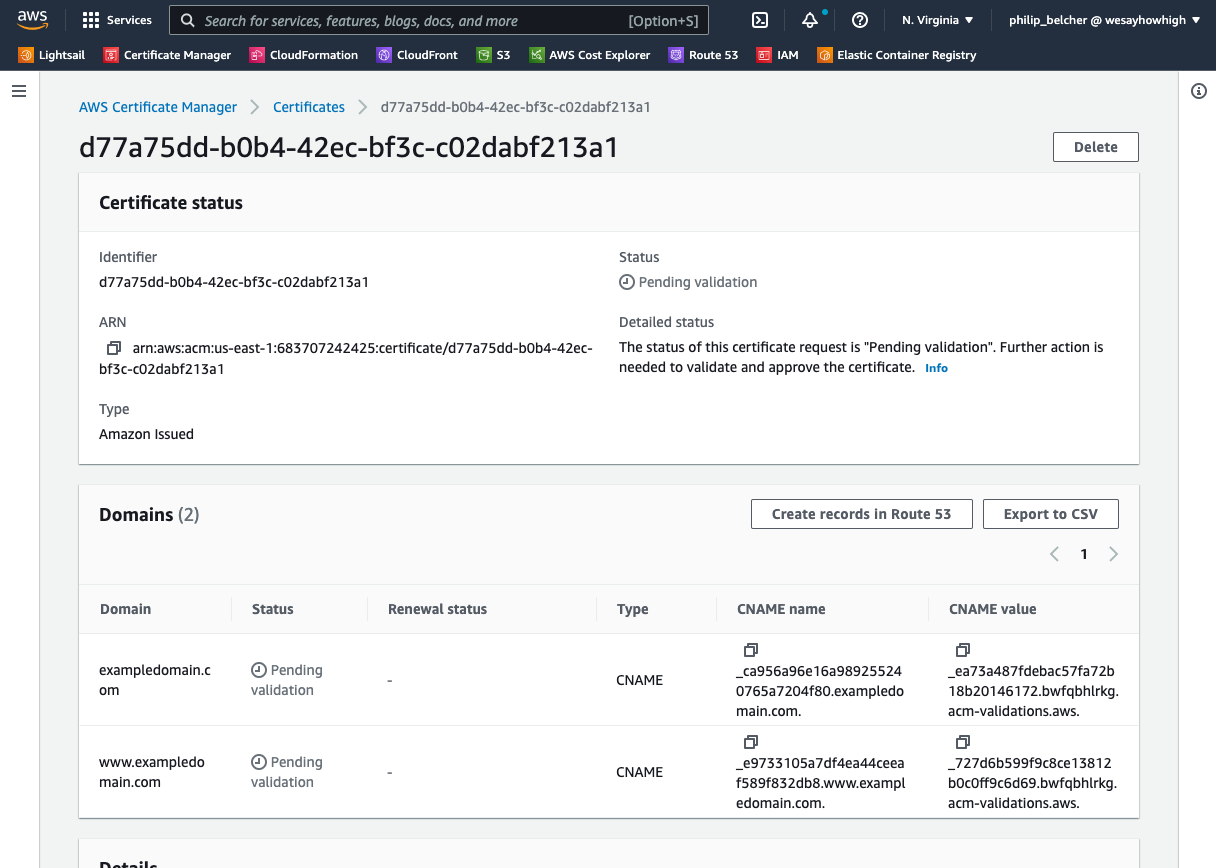
Created the records however you have to. Either do it yourself if you have DNS access, click the Export to CSV button and send to a 3rd party or - easiest of all and also rarest - if JUMP has DNS access via AWS Route 53, click the Create records in Route 53 button to have Amazon do it for you!
Once the records have been created you should see their status change to Success and the Certificate will be available to use in a CloudFront distribution.
Installing a 3rd Party Certificate
Ensure you have the following from the 3rd party:
Private Key (begins with
-----BEGIN PRIVATE KEY-----)Certificate Body (begins with
-----BEGIN CERTIFICATE-----)Certificate Chain (also begins with
-----BEGIN CERTIFICATE-----but contains multiple)
Visit the AWS Certificate Manager once logged into the AWS Console.
Ensure you are in US-EAST-1 (N. Virginia) by selecting the region selector.
Click the Import button at the top of the list of current signatures
Paste in the values from Step 1 and click the Next button, add the Tag of Key
BillingNameand Valuesite-NAME-OF-YOUR-WEBSITEon the next page and click the Next button.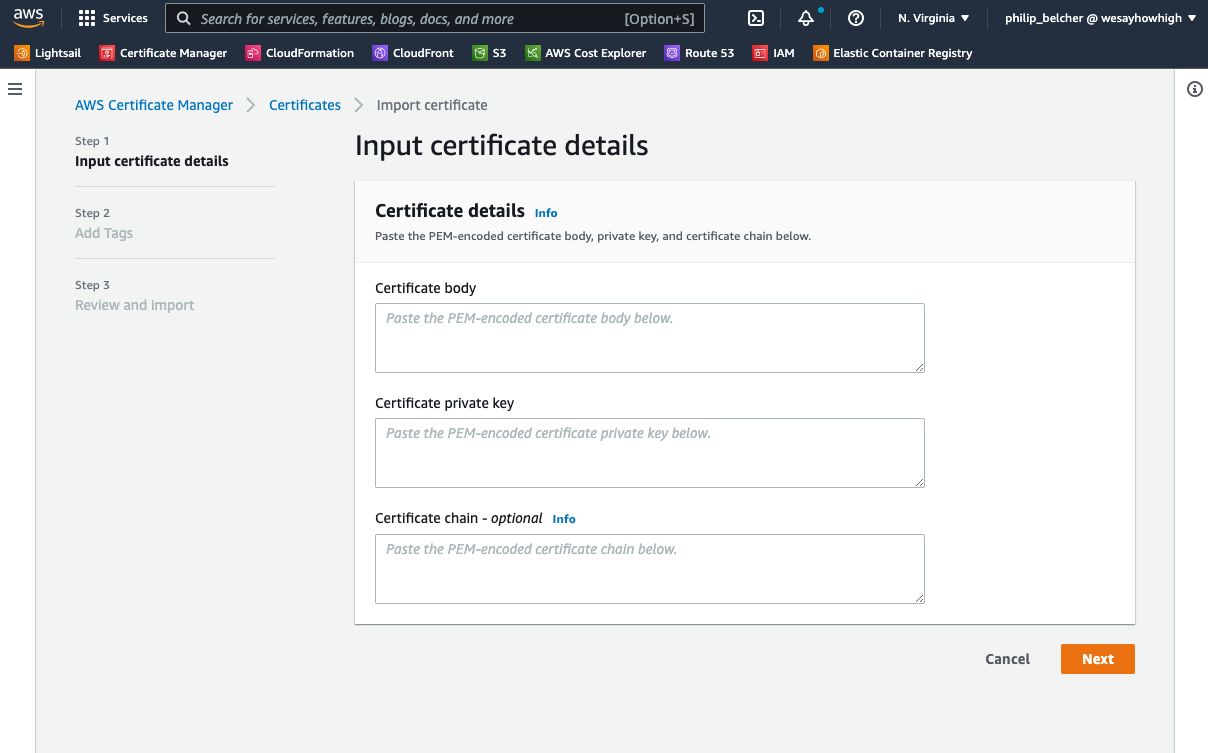
Verify the information looks correct (you should see the domain name for that certificate - ensure it also contains www subdomain) and click Import
The Certificate will now be available to use in a CloudFront distribution.